Hawking Technology HWU8DD User Manual
Browse online or download User Manual for Smartwatches Hawking Technology HWU8DD. Hawking Technology HWU8DD User's Manual
Summary of Contents
10 C. Click “Continue Anyway” to finish the installation. d) Click Finish to restart your computer after the installation.
11 II. Install the USB Adapter A. Plug the Hi-Gain Wireless-G Dish Adapter into the USB port of your computer. Note: to obtain the best possible wir
12 D. Click “Continue Anyway” and the system will start to install the USB adapter.
13 E. Click “Finish” to complete the installation. III. Using the Configuration Utility To setup the USB adapter, double-click the icon in the sy
14 Second Method A. Double-click the Window’s wireless networking icon. B. Click on the “Wireless Networks ” tab above. C. Uncheck “Use Window
15 Configuration Utility The Configuration Utility is a powerful application that helps you configure the Hawking Technologies Hi-Gain Wireless-G Dis
16 1.2 Using the Utility If you are using Windows XP as your operating system , the “Zero Configuration” feature/tool of Windows XP must be disabl
17 1.3 More Settings – Advanced Settings Figure 2-2 Click the “ More Settings “ icon of Figure 2-1 to enter “More settings
18 Figure 2-3 1.4 Wireless Security Settings Setting WEP: WEP Encryption is a standard wireless network security protocol
19 “PAEP ” items. (Refer to 2.3.2.3) Figure 2-4 Figure 2-5 1.5 Setting WPA and WPA2: WPA
LIMITED WARRANTY Hawking Technology guarantees that every HWU8DD Hi-Gain Wireless-G USB Dish Adapter is free from physical defects in material and
20 protocol your network is set on. Note: If you do not have this information please contact your system administrator for answers and assistance. -
21 Figure 2-6 1.7 Other Settings / Power Consumption Settings The “Other” settings page will allow you to adjust mo
22 to. - The Fragmentation Threshold Settings bar allows for adjustment of fragmentation threshold point, the range is from 256 to 2346 bytes.
23 1.8 Software Access Point Mode The Hawking Wireless Utility offers a special feature that allows the HWU8DD to function as a 802.11b or 802.11g
24 Figure 3-2 Figure 3-3
25 Figure 3-4 1.9 Advanced / More Settings For AP Mode Click the “ More Setting “ icon of Figure 3-1 to enter the “More settin
26 64,128 or 256 bits you wish to use for your network. Select a “Default Key ID” for your network from the default Key field . Modify the 4 sets ke
27 3 Getting the Best Signal This chapter provides information on how to correctly handle the Dish Antenna and position it for the best possible sig
28 4 Troubleshooting This chapter provides solutions to problems usually encountered during the installation and operation of the adapter. 3. W
29 7. What is Infrastructure? An integrated wireless and wireless and wired LAN is called an Infrastructure configuration. Infrastructure is app
Federal Communication Commission Interference Statement This equipment has been tested and found to comply with the limits for a Class B digital
30 14. What is DSSS? What is FHSS? And what are their differences? Frequency-hopping spread-spectrum (FHSS) uses a narrowband carrier that chan
Federal Communications Commission (FCC) RF Exposure Requirements SAR compliance has been established in the laptop computer(s) configurations wi
CONTENTS INTRODUCTION... 6 1.1 Features ...
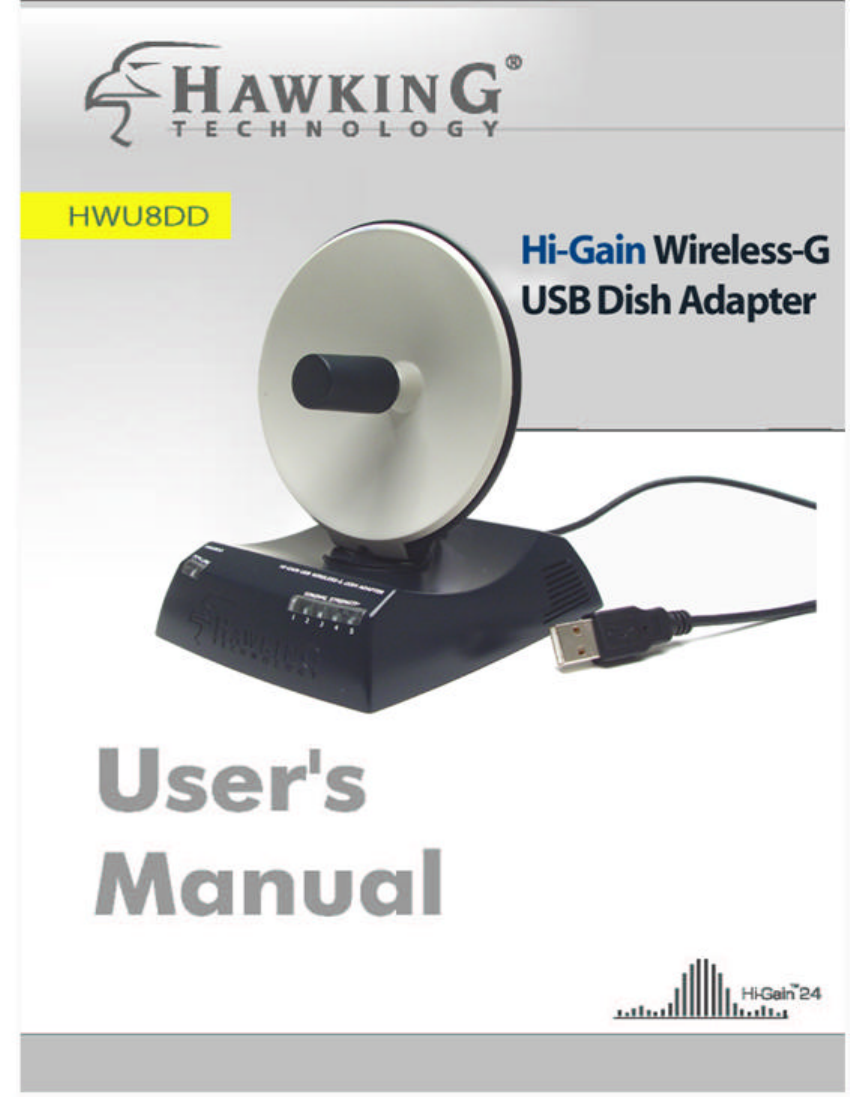
6 Introduction Thank you for purchasing the Hawking Hi-Gain 8dBi Directional USB Wireless-G Dish Adapter. This Hi-Gain Wireless-G USB Dish Adapter
7 • Security: 64/128/256-bit WEP Data Encryption, WPA (IEEE 802.1x with TKIP) and AES • Antenna: Directional 8 dBi Hi-Gain Dish Antenna • Drivers:
8 Installation Procedure Before you proceed with the installation, please notice following descriptions. Note1: Please do not install the USB adap
9 B. If you want to install the software program in another location, click “Browse” and select an alternative destination. Then, click “Next”.
© 2020, manymanuals.com. All rights reserved. | 0.185 s |
 Manymanuals.com
 Manymanuals.de
 Manymanuals.fr
 Manymanuals.it
 Manymanuals.pl
 Manymanuals.cz
 Manymanuals.es
 Manymanuals-pt.com
Comments to this Manuals